AWS Onboarding
Introduction
This guide is the starting point for connecting AWS to the Xshield Cloud Connector. Onboarding has two phases:
- Resource Discovery — Connect your AWS account so Xshield can discover and monitor resources (EC2, RDS, Lambda, S3, and others).
- Traffic Visibility — Enable VPC Flow Logs and X-Ray so you get network traffic and application trace visibility.
Complete Resource Discovery first (Steps 1–3 below), then follow the Traffic Visibility guides.
Prerequisites
Before you begin, ensure you have:
- Active AWS account with administrative access
- An IAM principal (user/role) that can create and manage IAM roles and policies
- Active Xshield account with access to the management portal
Resource Discovery
Connect your AWS account by following Steps 1–3 and choosing one of the three methods in Step 3. The method you choose determines how you grant access to the flow logs bucket later (see VPC Flow Logs).
Step 1: Navigate to Cloud Connector
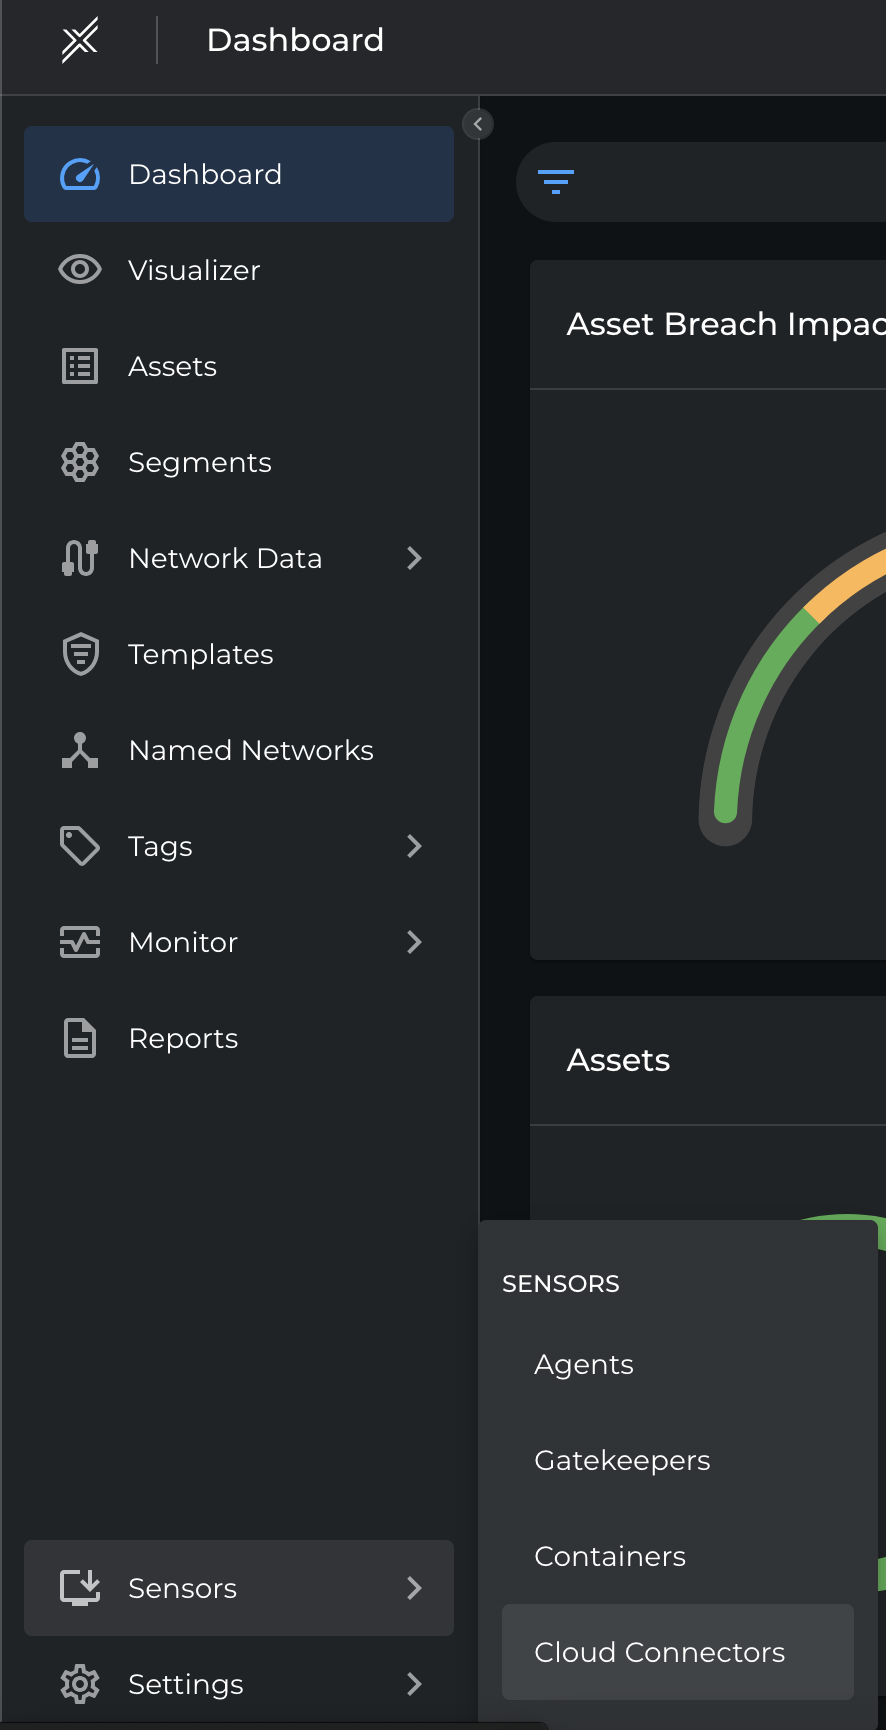
- Log in to the Xshield management portal
- Navigate to Sensors in the left navigation menu
- Select Cloud Connector
Step 2: Start AWS Onboarding
-
Click Connect to begin onboarding.

-
Click Connect Account next to AWS.

Step 3: Connect AWS Account
Choose one of the following methods. Each guide describes when to use it and the full steps (including screenshots).
- Interactive — CloudFormation stack and permissions deployed automatically from the portal.
- Script-based — Deploy via a downloadable script in your environment.
- Manual (Console-based) — Create the role and permissions yourself in the AWS Console.
Traffic Visibility
After your account is connected, enable traffic visibility so Xshield can show network and application trace data:
- VPC Flow Logs — Enable VPC Flow Logs, deliver them to S3, and grant Xshield access to the flow logs bucket (method depends on how you did Resource Discovery).
- X-Ray Traces — Enable AWS X-Ray for application trace visibility.